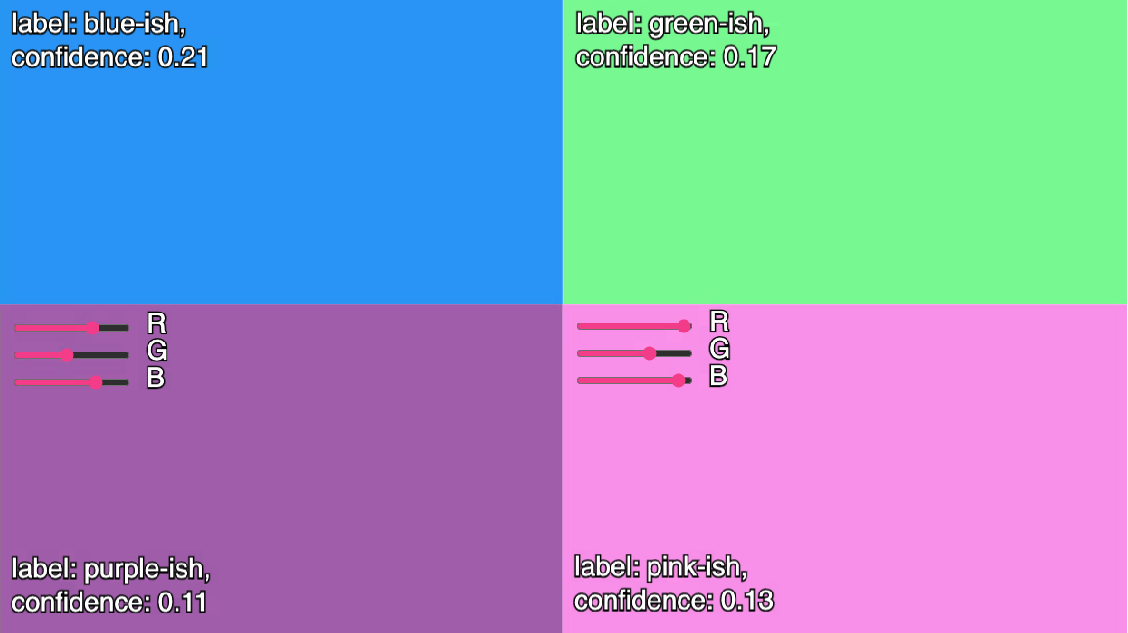
Creative Computing Hub Oslo (C2HO) presents a series of workshops focused on ml5.js, a beginner-friendly library that enables you to utilize machine learning directly in your web browser. The library provides access to machine learning algorithms and models in the browser, building on top of TensorFlow.js with no other external dependencies. It includes pre-trained models that allow for recognizing images, detecting human poses, generating text, and more.
In our first session we will implement and train a simple neural net for classifying RGB colors.
Part 1: Set up and train the neural network
When a new p5.js file is created, two functions are always defined: setup and draw.
The setup function is the first function that runs when the code is run. Here you can define any variables that do not need to be dynamically altered during the execution of the code. The setup function automatically includes the createCanvas, which is used to specify the width and height of the canvas you will draw on. The draw function runs continuously in a loop until the program is terminated. If you look at the index.html file in the code below, you will see that in addition to the p5 libraries, we also load the ml5 library.
Inside our setup function we will define the attributes of our ml5 neural network. This includes the type of machine learning problem we want it to handle (classification or regression), the size of the network and what our inputs and outputs are.
We can also set a variable named debug to true. This allows us to monitor the training of our neural network.
To train our neural network to recognize which RGB values correspond to which colors we will need to create some training data. Our dataset looks something like this, with inputs in the form of r,g,b values and a corresponding string describing the color:
{
  "entries": [
    {"r":255, "g":0, "b":0, "label":"red-ish"},
    {"r":254, "g":0, "b":0, "label":"red-ish"},
    {"r":253, "g":0, "b":0, "label":"red-ish"},
    {"r":0, "g":255, "b":0, "label":"green-ish"},
    {"r":0, "g":254, "b":0, "label":"green-ish"},
    {"r":0, "g":253, "b":0, "label":"green-ish"},
    {"r":0, "g":0, "b":255, "label":"blue-ish"},
    {"r":0, "g":0, "b":254, "label":"blue-ish"},
    {"r":0, "g":0, "b":253, "label":"blue-ish"}
  ]
}
By clicking the like below you can explore the code for initializing the neural network and begin training. You might notice that for now our draw function is almost empty. For now it just gives our canvas a blue background, but in the next section we will use the canvas to provide input to our neural net and to display its predictions.

Part 2: Testing the neural net
Now that we have defined and trained our model, we can give it some data to classify!
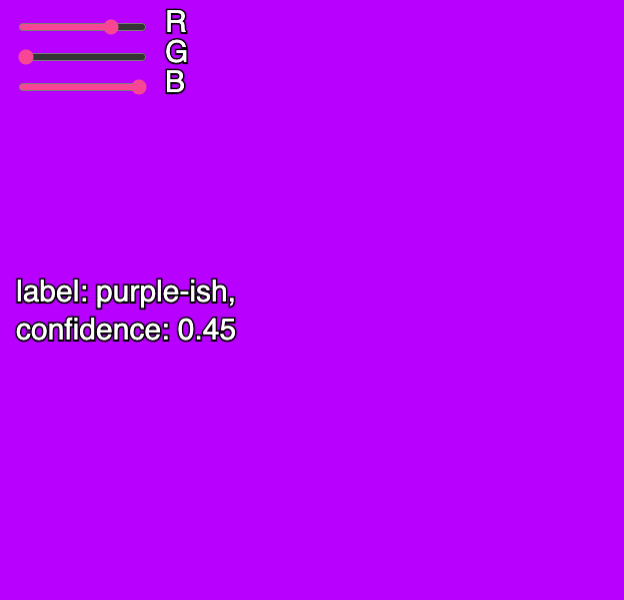
Since we are working in p5, we can make it so that we can enter the color values interactively using sliders. We add three sliders with a range from 0 to 255 to our canvas to represent the red, green and blue values. We can then declare a classify function which reads the current values of our three sliders and triggers our neural network to attempt to assign a color label.
The classify function requires two arguments: the input we want to classify, and a function to handle the classification results.
Finally, we can update our draw function so that it displays our slider labels and the model predictions. We also change the background color so it displays the color we are wanting the network to classify.
Part 3: Change from classification to regression
Now that we have a model that can guess a color label based on RGB values, lets flip the problem around and make a model that can generate a color (i.e a set of RGB values) based on our labels instead!
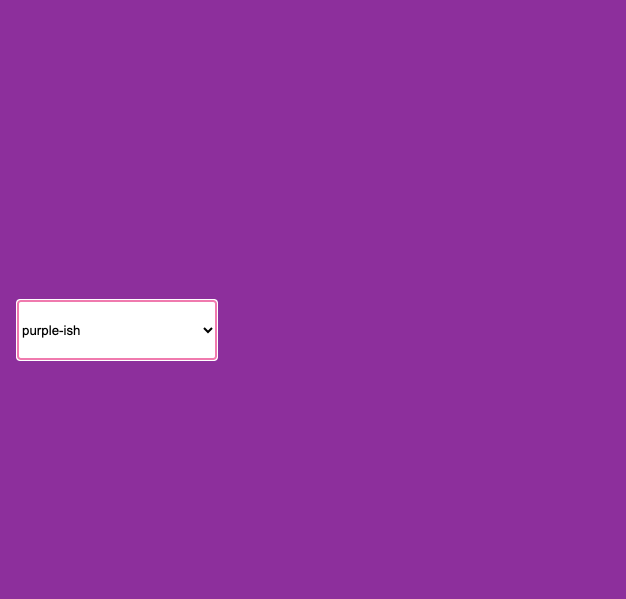
First we need to change some of the values in our nnOptions variable which defines the structure and parameters of the neural network. We change the task from classification to regression and switch around our input and output values. We will now be giving the model labels - i.e. the names of the colors as input and asking it to return RGB values, so lets get rid of our sliders and add a drop down menu to select the label we want the model to predict.
We then replace our classify function with a predict function which checks what label is chosen in our drop down menu and sends it to the network to predict the corresponding RGB values.
Finally we can change the draw function so that the models predictions change the color of our background.
Going Further..
Resources:
This workshop is based on this tutorial from the ml5.js resources.