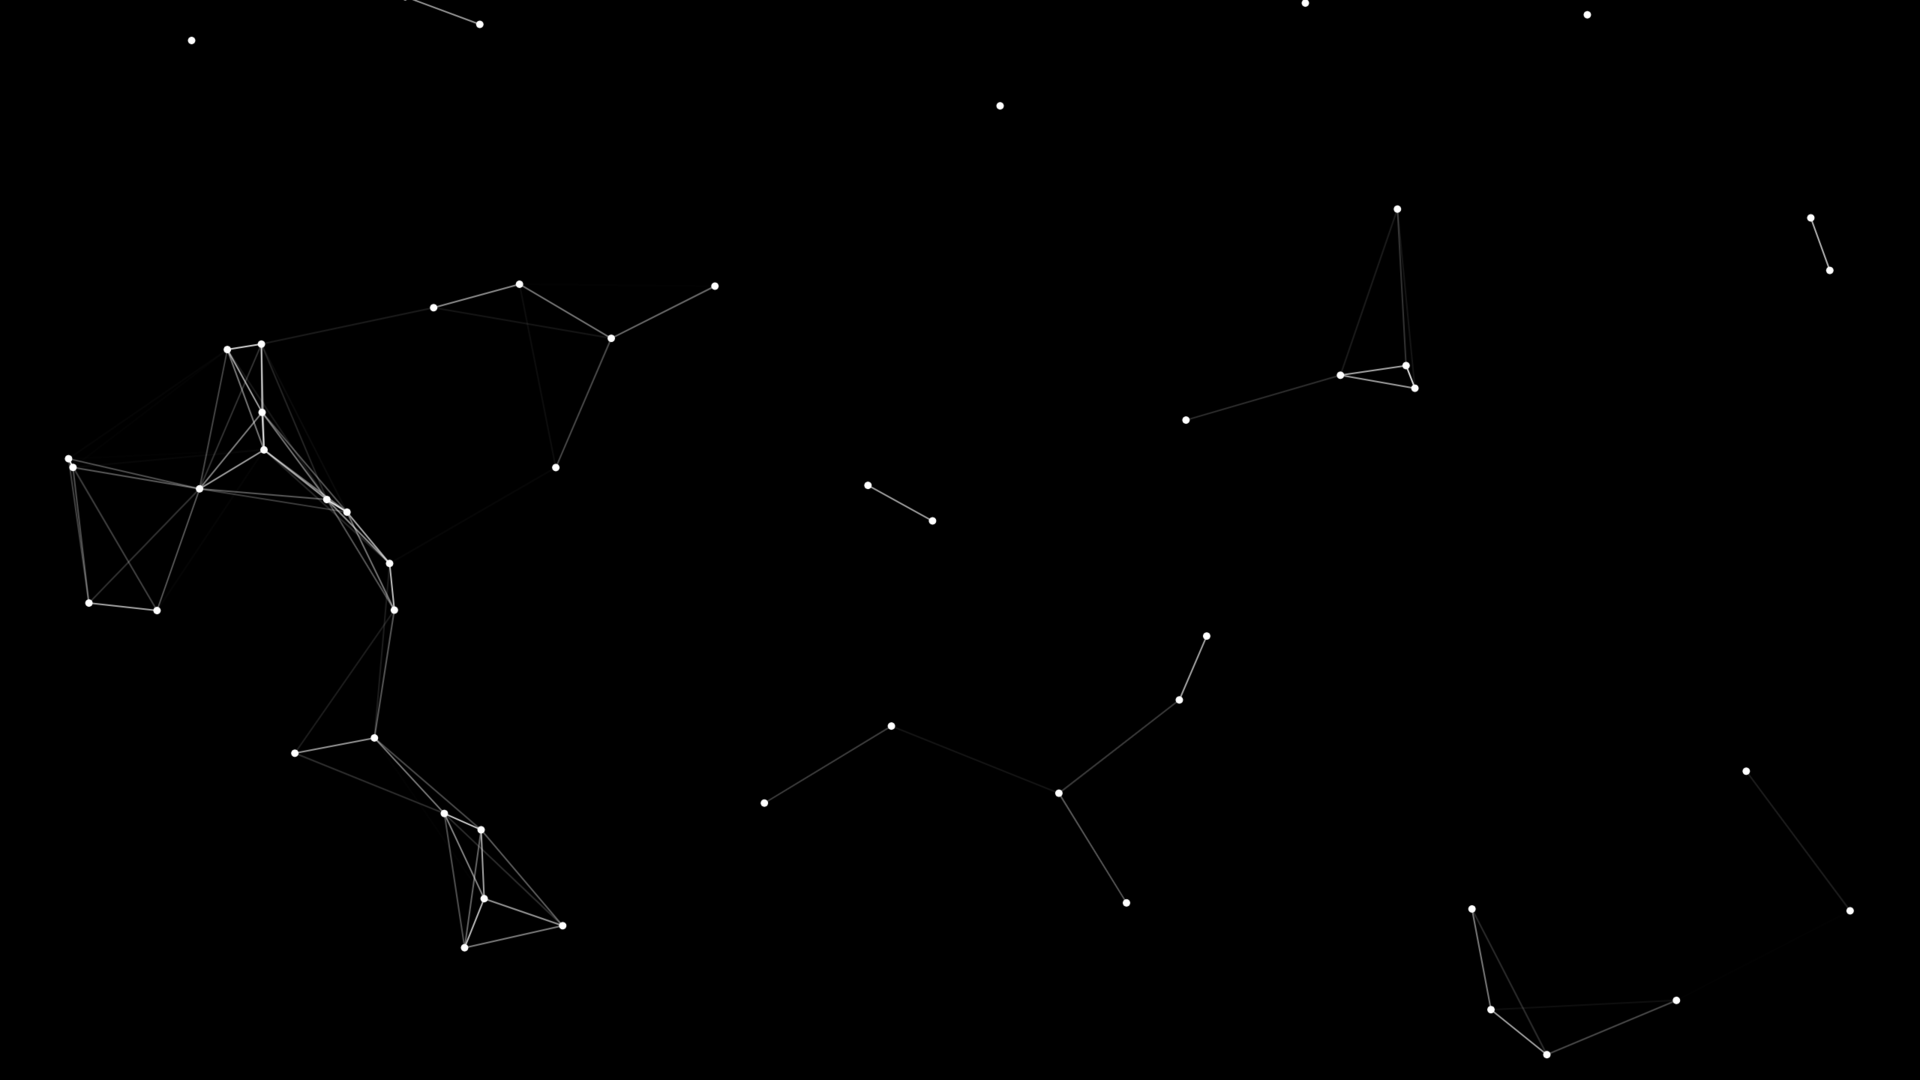
Creative Computing Hub Oslo (C2HO) presents a series of workshops focused on getting started with creative computing in p5.js, a beginner-friendly JavaScript library with a full set of drawing and sound-making functionalities. In the fourth workshop we will explore advanced animation techniques, including 3D modeling.
Part 1: Floating Particles
For the first section of this workshop, we will be using the concepts learned from the previous three workshops to replicate the connected vertices example from Louis Hoebregts. First, we need to create a bunch of floating particles on the screen. We'll start by declaring a particles class, along with class functions for moving the particle, dealing with what happens when it hits a wall, and finally drawing a particle. After that, we'll create an array of particles that will move in sequence, which you can view below.
Part 2: Connecting the Dots
With the coordinates declared by the createVector function in each particle class, we can use the dist function to calculate the distance between each particle. Using this information, we will draw lines that connect our particles once the get close enough. Using the alpha values of the stroke function, we can also fade the line transparency down as the particles further apart and fade it up as they get closer. In the example below we have also randomized the radii of each particle to give the illusion of depth.
Part 3: User Interaction
Now we can add some user interaction! In the example below, moving your mouse to the left and right end of the screen will lower the threshold for particle connections, while moving your mouse to the top or bottom of the screen will add more particles.
Part 4: 3D Graphics and Orbit Control
Now for something a little different! p5.js uses WEBGL for more complex tasks like shading and 3D graphics. There are many 3D shapes available in WEBGL, including cones and boxes, as well as built-in functions that make 3D modeling easier. For instance, the orbitControl function allows users to easily move around a 3D sketch using their mouse. In this example from p5.js, the translate function is used to place multiple cone and box objects in a dome formation in 3D space. You can view and interact with this example below.
Part 5: Introduction to Shaders
Shaders are programs that allow for the processing of many pixels in a sketch using WEBGL, which is useful for effects such as gradients, blur, and noise. The two variety of shaders are vertex shaders, which affects 3D models, and fragment shaders, which affect the color output. In this tutorial from p5.js, a basic gradient shader is created using a vertex and fragment shader. You can view the results below.
Part 6: 3D Animation
Now, let's combine 3D graphics with shaders. In this example from p5.js, a blur effect is applied as a sphere object gets closer to the screen. This is achieved using the frameBuffer function, creating layers of blur. Different lightings are applied to the spheres to further give the illusion of depth, including ambient light and directional light, and the blur is achieved with vertex and fragment shaders. You can view the final result below.