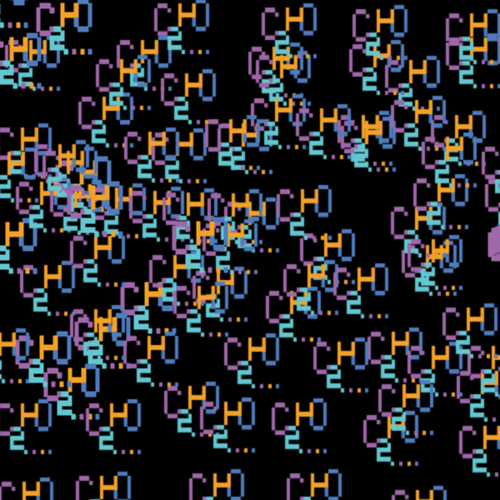
Creative Computing Hub Oslo (C2HO) presents a series of workshops focused on getting started with creative computing in p5.js, a beginner-friendly JavaScript library with a full set of drawing and sound-making functionalities. In the second workshop we will elaborate on the basics of p5.js, focusing on manipulating images, playing and generating sound, and using classes.
Part 1: Classes
Continuing off the example in the previous workshop, we'll now be examining how to handle multiple smiley face objects. One solution to this is using parallel arrays for all of the object characteristics, but a much neater way to do this is using a class. In the example below, all values relating to the smiley face are added as class variables and declared in the "constructor" function of the class "Smiley". The "drawSmiley" function and the code to move the smiley are removed and all functionality relating to the smiley face is added to the class in the functions "move" and "draw", respectively. Once those steps are taken, we can create as many smilies on the screen as we desire in the "setup" function, and call the "move" and "draw" functions for each smiley in the main "draw" loop.
Part 2: Class Functions
Now that we have a smiley class, we can easily add more functionality to the smiley by adding new class functions. In this instance, a trail was added to each of our generated smilies that consist of circles that get progressively smaller the further they get away from the moving smiley. Once the function is created in the class, the function much be inserted into the "draw" loop the same way as the other class functions.
Part 3: Sound Files
In this section, we will take a short look into using sound files in p5.js. The first and most important step is to load sound files in using the preload function, which runs before any other code. If you were to load the files in any other function, such as the "draw" or "setup" functions, undefined behavior is likely to happen. Next, by making small edits to the code, you can assign a sound file to each smiley and play them using the play function. In the example below, each smiley has a drum sample attached to it that plays when they bounce off a corner of the screen. You can play these samples by clicking and holding on the canvas below.
Part 4: Introduction to Images
p5.js contains an extensive library for the loading and manipulation of images. Similarly to the sound files, the C2HO logo will first be loaded by using the preLoad function. Next, we will resize the image to 100 x 100 pixels. We will then draw the image wherever the user puts the mouse on the canvas, allowing the user to set the background back to black by clicking on the canvas. You can try it yourself below.
Part 5: Advanced Image Features
Using the get function, we can retrieve the color of the image. In the below example, we call the get function when the user clicks on a color of the C2HO logo on the canvas. Once the color is clicked, you can then draw on the canvas using the color you previously clicked on.
Using the get function we can also retrieve the color value of each pixel and then using the set and updatePixels function, we can alter the pixel color. In the below example, we inverted the pixel values for the entire C2HO logo while keeping the same drawing function as the above example.
Part 6: Sound Generation
To wrap up this workshop, we will take a deeper dive into the p5 sound library and learn basic sound generation. To start, we'll generate a basic sine wave oscillator using the SinOsc function. We will also generate reverb and use the process function to adjust the parameters of the reverb and connect the reverb to the sine wave oscillator. Using the map function, we will map the height and width of the canvas to appropriate values for the oscillator's frequency and amplitude using the freq and amp functions. You can view and interact with the example below by clicking and holding on the canvas.